
PowerApps from Microsoft is an effective low-code platform helping users to build custom business apps without needing considerable coding knowledge. Any app has data interaction at its core and CRUD operations are where that begins.
In this post, we will look at CRUD in PowerApps with a data source like SharePoint.
WHAT ARE CRUD OPERATIONS :
CURD stands for
- C – CREATE
- R – READ
- U – UPDATE
- D – DELETE
These operations are used to change solutions in PowerApps. To carry out these operations, a solution must first be created in PowerApps.
How to create Solution in PowerApps :
Step 1: Go to PowerApps Website and Click on “SOLUTIONS” in the left side Navigation Pannel.
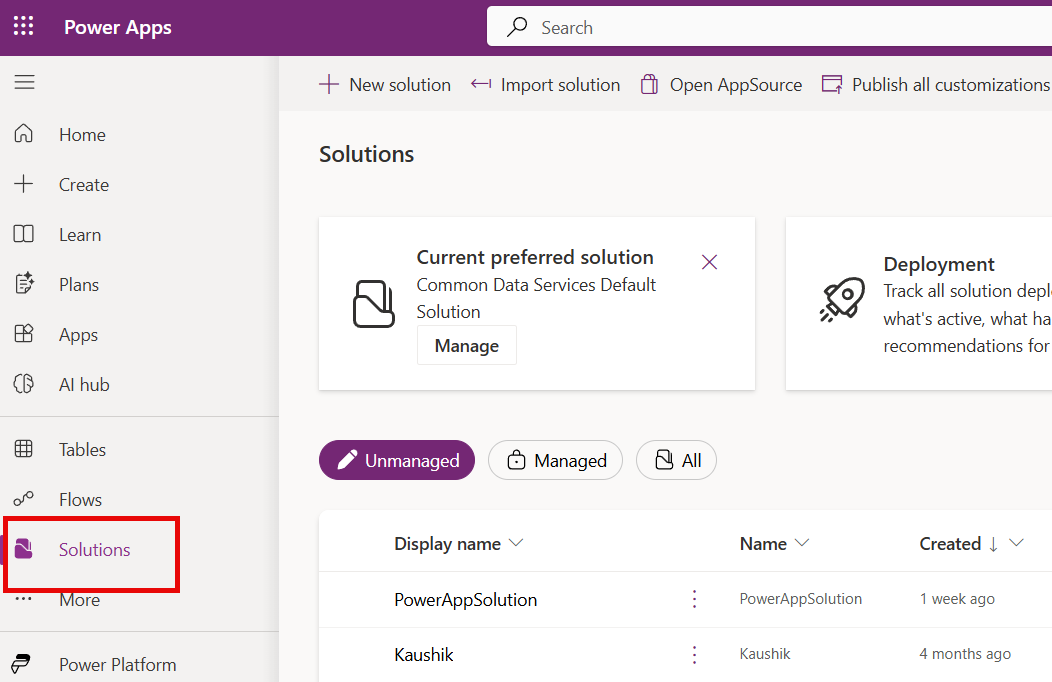
Step 2: Click on New Solutions.

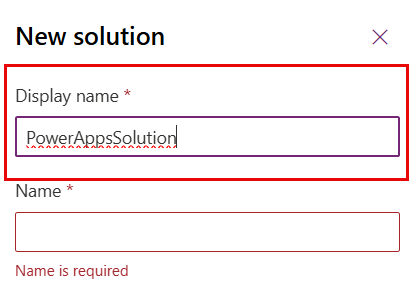
Step 3: Enter the Display Name; In this example, ‘PowerAppsSolution’ is used. Next, specify the Publisher. Finally, click the ‘Create’ button to generate the solution.
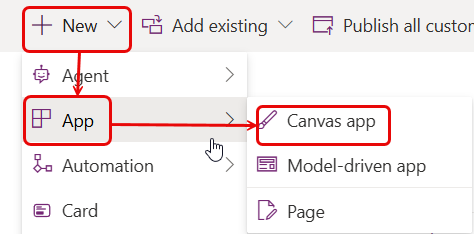
Step 4: Once the solution has been created, a new tab will open. Click on ‘New’ at the top of the tab, then select ‘Apps’ followed by ‘Canvas App’.

Step 5: Give a name for the app; in this example, ‘CanvasApp1’ is used. Then, click the ‘Create’ button. A new screen will later be generated.

How to Connect SharePoint with PowerApps :
To retrieve data in PowerApps, it is necessary to connect to a data source. In this example, SharePoint has been selected. The next steps outline the process for connecting to SharePoint.
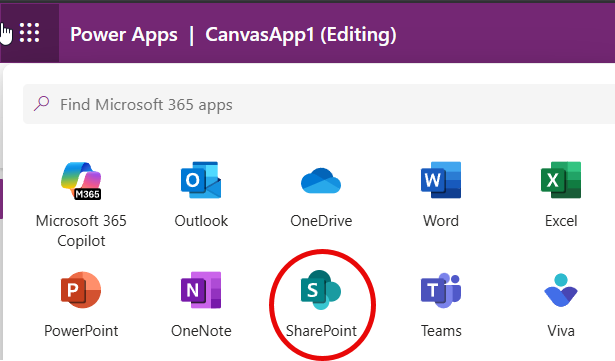
Step 1: Click on the nine dots in the top-left corner of the Canvas Apps tab. Then select 'SharePoint' from the available options.

Step 2: Select the desired site.
Step 3: After selecting the site, the next step is to 'Create a List'. Click on the settings icon located in the top-right corner, and then select 'Site contents'.
Step 4: Click on ‘+ New’ at the top of the page, and then select ‘List’ from the available options.
Step 5: A pop-up window will appear. In the ‘Create from blank’ section, select ‘List’. Give a name for the list; In this example, ‘Movie DB’ is used. Then, click on ‘Create’ to generate the list.
Step 6: Create extra columns by clicking on '+ Add Column'. Assign a name to each column and select the appropriate data type based on the intended content. In this example, the columns created are: 'Title' (default), 'Director', 'Release Date', 'Actor', 'Actress', and 'Review'.

Step 7: Add items to the list by clicking on ‘+ Add Item’. In this example, four items have been created.

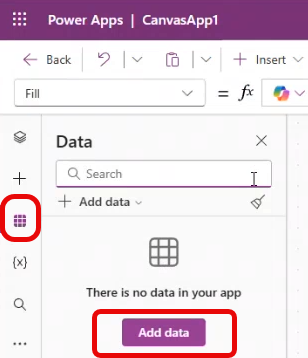
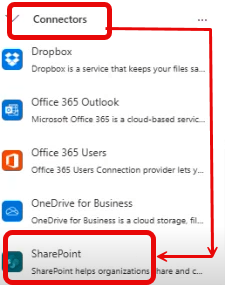
Step 8: Open PowerApps, Click on the nine dots in the Left-side of the Canvas Apps tab. Then click on ‘+ Add Data’. Then, navigate to the ‘Connectors’ section and select ‘SharePoint’. From there, choose your SharePoint account to set up the connection.

Step 9: After connecting to SharePoint, select the previously chosen site (‘Communication Site’), which will appear on the right side on the screen. Next, select the list (‘Movie DB’) that was created earlier. Finally, click on ‘Connect’ to finish the process. SharePoint will now be successfully connected to PowerApps.


CRUD Operations in PowerApps :
How to Execute the READ Operation in PowerApps :
After creating the Canvas App (CanvasApp1) and adding the data source (SharePoint → Movies DB) in PowerApps, follow the steps below to continue:
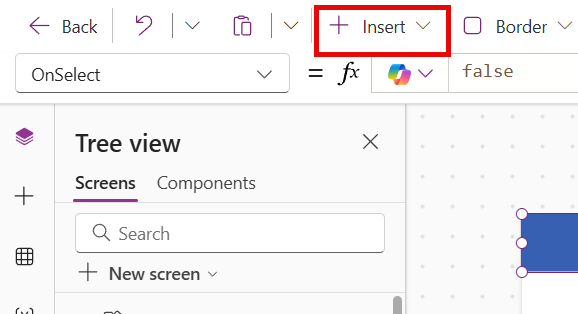
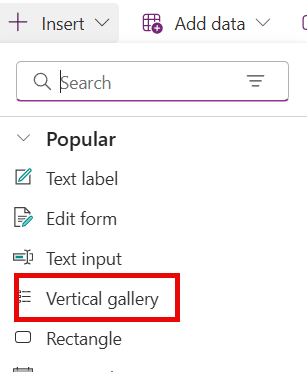
- Step 1: Click on ‘+ Insert’ at the top of the screen. Then select ‘Vertical Gallery’ from the available options.
- Step 2: A gallery (Gallery1) will appear on the screen. Connect the Gallery1 to the appropriate data source (Movie DB) to show the desired data. The relevant data will then be displayed within the gallery.

- Step 3: Create a new screen (Screen1_1). On this screen, insert an Edit Form by clicking on ‘+ Insert’ and selecting the ‘Edit Form’ choice.

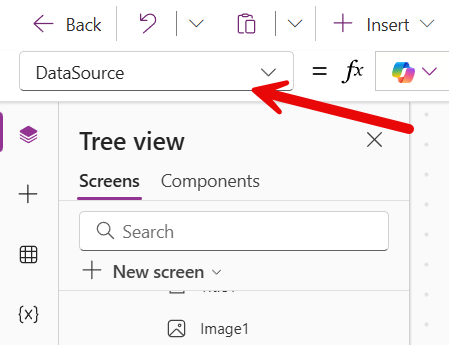
- Step 4: Connect the Edit Form to the data source (Movie DB) in order to show the corresponding data.

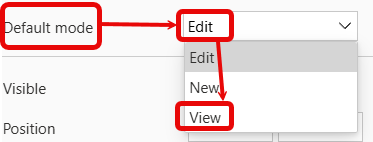
By default, the Edit Form is set to ‘Edit’ mode. But, if data should be displayed in a read-only format, the form mode must be changed to ‘View’.
- Step 5: In the Properties panel, navigate to the ‘Display Mode’ setting. Change the mode from ‘Edit’ to ‘View’ using the options available in the Display tab.

- Step 6: Select the Edit Form. Set its property to ‘Item’. This setting allows the Edit form to show the item selected in the Gallery.

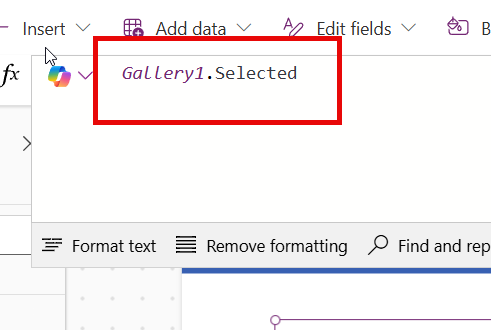
Step 7: Select the Edit Form and Enter the formula ‘Gallery1.Selected‘ in the formula bar. This enables the Edit Form to show the item presently selected in Gallery1.
To show the selected output, the Vertical Gallery on Screen1 must be connected to the Edit Form on Screen1_1.
- Step 8: On Screen1, within the Vertical Gallery, click on the ‘>’ (arrow) symbol connected to an item. Then, navigate to the formula bar located at the top of the screen.

- Step 9: In the formula bar, enter the function ‘
Navigate(Screen1_1)'. This will allow navigation from Screen1 to Screen1_1 when the specified element is selected or triggered.

How to Execute the CREATE Operation in PowerApps :
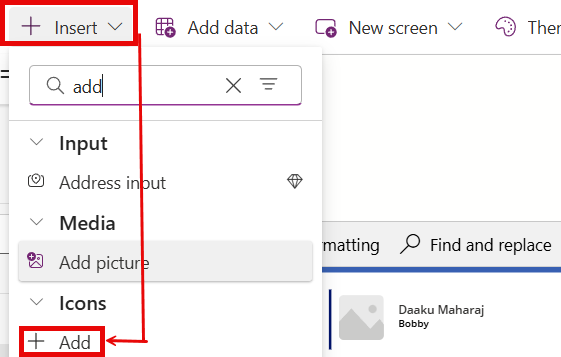
- Step 1: Click on the ‘+ Insert’ button to add a ‘+’ Icon in Screen 1, which will be used to show the action of adding a new item.
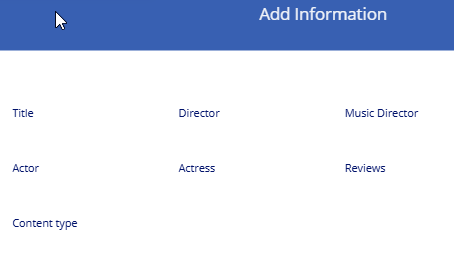
- Step 2: Create a new screen (Screen1_4) and name it ‘Add Information’. Then, insert a Submit Form onto the screen.
- Step 3: Connect the form to the data source (Movies DB). Set the form’s property to ‘Item’. Change its default mode to ‘New‘ using the Properties panel on the right side of the screen.

- Step 4: Add a button to the screen using the ‘+ Insert’ option at the top. Rename the button to ‘ADD’ in the Properties section.

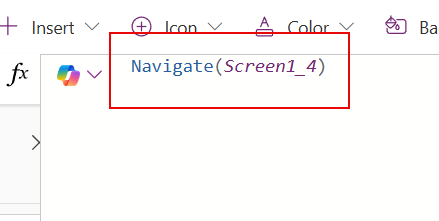
- Step 5: Return to Screen1 and click on the ‘Add Item’ icon. In the formula bar, enter the function “Navigate(Screen1_4)“. This enables navigation from Screen1 to Screen1_4 when the icon is clicked.
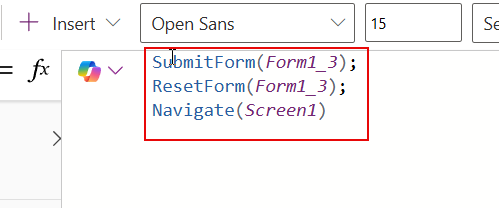
- Step 6: On Screen1_4, select the ‘ADD’ button and enter the following formula in the formula bar:
SubmitForm(Form1_3);
ResetForm(Form1_3);
Navigate(Screen1)
This formula performs three actions.'SubmitForm'submits the form data when the 'ADD' button is clicked.'ResetForm' clears the form fields after submission.'Navigate'redirects the user from 'Screen1_4' back to 'Screen1'.
- Step 7: Enter the required data into the form and click the ‘ADD’ button to submit. The data will then be successfully added to the underlying database (Movie DB).
How to Execute the UPDATE Operation in PowerApps :
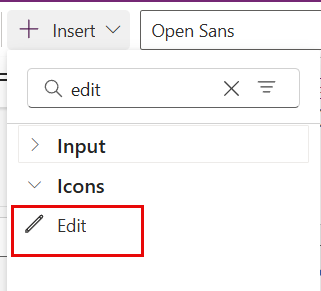
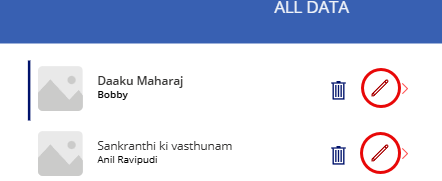
- Step 1: On Screen1, add an Edit Icon by selecting the ‘+ Insert’ option at the top of the screen. Place the icon beside the ‘>’ symbol within the gallery for easy access.
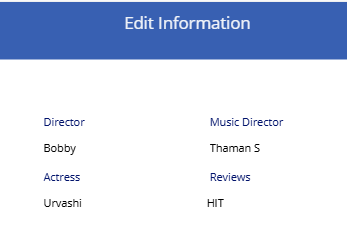
- Step 2: Create a new screen (Screen1_2) and name it ‘Edit Information’. Then, insert a ‘Submit Form’ onto the screen presnt in ‘+Insert’ option on the top of the screen.
- Step 3: Connect the form to the appropriate data source (Movies DB) to allow data retrieval and updates.
- Step 4: In the Properties panel on the right side of the screen, change the form’s default mode. Set it from ‘View’ to ‘Edit’. This change allows data modification.
- Step 5: Add a button to the screen using the ‘+ Insert’ option at the top. Rename the button to ‘UPDATE’ in the Properties section.

- Step 6: On Screen1_2, select the ‘UPDATE’ button and enter the following formula in the formula bar:
SubmitForm(Form1_1);Navigate(Screen1)This formula performs two actions.'SubmitForm'submits the form data when the 'UPDATE' button is clicked.'Navigate'redirects the user from 'Screen1_2' back to 'Screen1'.

- Step 7: Enter the required data into the form and click the ‘UPDATE’ button to submit. The data will then be successfully updated to the underlying database (Movie DB).
How to Execute the DELETE Operation in PowerApps :
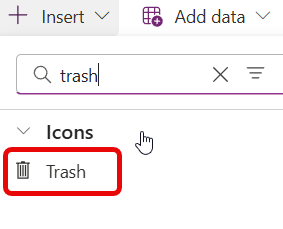
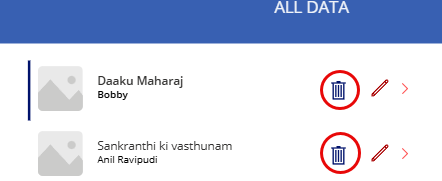
- Step 1: On Screen1, add a DELETE icon by selecting the ‘+ Insert’ option at the top of the screen. Place the icon beside the EDIT symbol within the gallery for easy access.
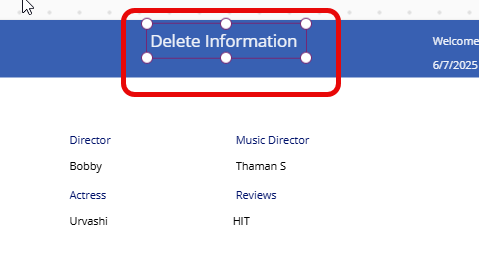
- Step 2: Create a new screen (Screen1_3) and name it ‘Delete Information’. Then, insert a Submit Form onto the screen present in ‘+ Insert’ option on the top of the table.
- Step 3: Connect the form to the appropriate Data Source (Movies DB) to allow data retrieval and updates.
- Step 4: In the Properties panel on the right side of the screen, change the form’s default mode. Set it from ‘Edit’ to ‘View’. This change allows data modification.
- Step 5: Add a button to the screen using the ‘+ Insert’ option at the top. Rename the button to ‘DELETE’ in the Properties Section.

- Step 6: On Screen1_3, select the ‘DELETE’ button and enter the following formula in the formula bar:
Remove('MovieDB',Gallery1.Selected);
Navigate(Screen1)
This formula performs two actions. 'Remove' removes the form data when the ‘DELETE’ button is clicked.'Navigate' redirects the user from ‘Screen1_3’ back to ‘Screen1’.

- Step 7: To delete an item, click on the ‘DELETE’ button. The corresponding data will then be removed from the data source.
